Finally the diggers were in, much to the delight of my kids.
Here's the Engineering drawing to where all holes are meant to be dug. You can see where they have filled to the right of the 'line of cut', there are more piers than anywhere else. Must be because the fill in more unstable. This must be what my Tender BC meant when he said it would cost more if I was to move the line of cut and raise the slab more. ie. more piers would be required.

I have noted that one of the strip footings needs to be poured separately to the slab and not tied in. When I mentioned this to the slab supervisor, he said they normally pour together but separate it with a plastic membrane. I also noted that there was no separate strip footing inspection required on my building permit. When I rang the building surveyor company that issued the permit to ask about this, they were not too fussed with this footnote and didn't think a separate strip footing inspection was required.
Here's the guys doing their thing with their brand spanking new digger

The holes are meant to be a minimum 2.5m deep. I measured this one at almost 3m. Good work guys!

Here's the next day shot of one of the holes near the garage. I assume they've put some steel in there for strength before pouring the concrete.
And.. here's my lovely new meter box

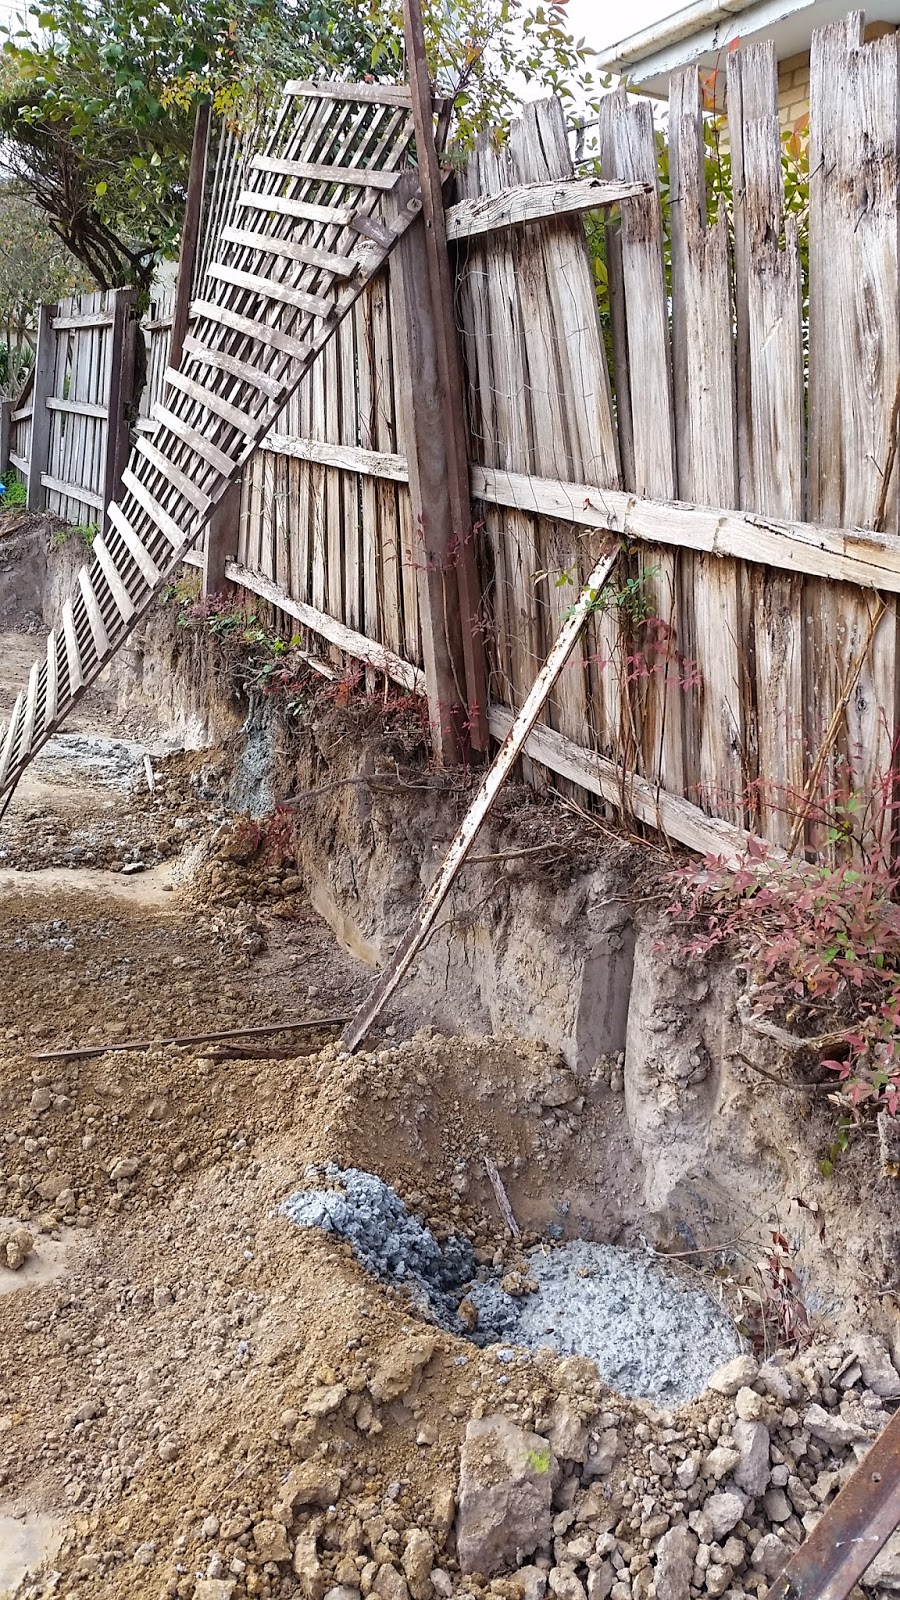
This pier stage took a total of five days from site start. All in all, a pretty good start. The only complaint has been how the neighbour's fence is falling down and the PD guys aren't really giving much attention to it. The propping up of the fence was actually done by my lovely neighbours. Also the sub contractors haven't been closing up the temp fences, which is a security concern since it's wide open to my neighbours backyard. They've also left a bit of mess on the entry crossover and road.
Comments
Post a Comment